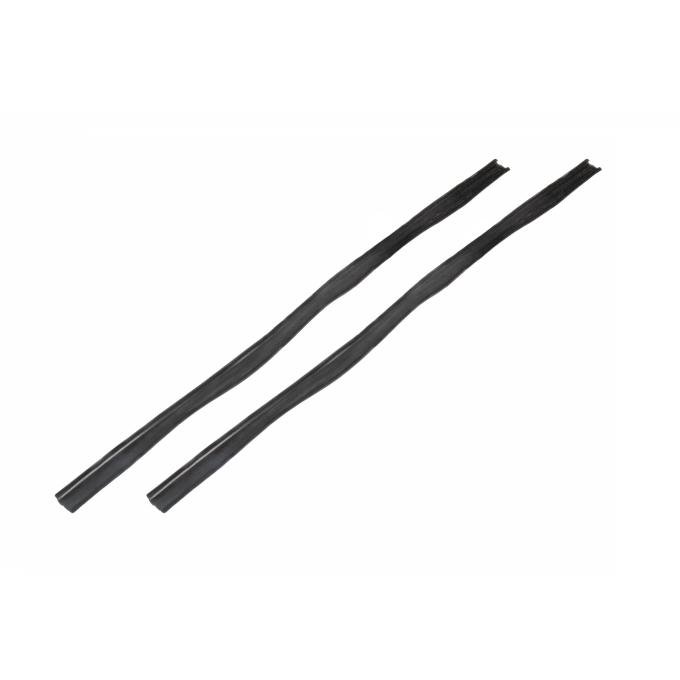
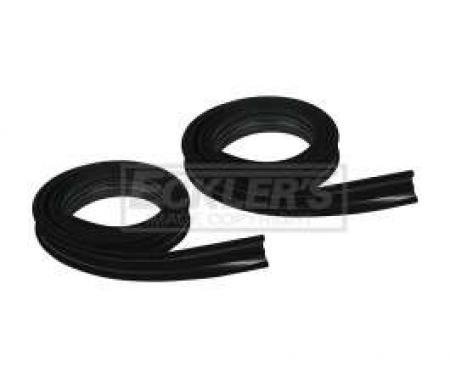
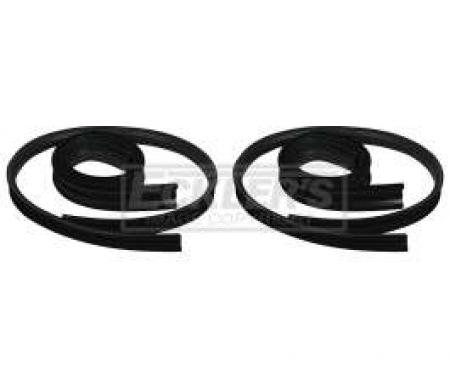
Precision Glass Run Channel, Left & Right Hand GRP 1211 68
- Left and right glass run channels — sold as a pair for replacing worn or damaged door guides.
- Durable, weather-resistant rubber compound with reinforced backing to resist compression and cracking.
- Guides and seals the door glass to reduce vibration, wind noise, and water intrusion.
- Direct-fit replacement intended to restore proper window alignment and smooth operation.
- Corrosion-resistant design helps extend service life and supports restoration projects.
- Easy to trim or adjust for a precise fit when needed; made for long-term reliability.
- Difficulty: 2/5
- Estimated time: 45-90 minutes
- Trim panel removal tool
- Phillips and flat-head screwdrivers
- Socket set or nut driver
- Needle-nose pliers
- Lubricant (silicone spray or soapy water)
- Clean cloths
- Heat gun or hair dryer (optional for flexibility)
- Lower the window glass partially so you can access the channel mounting area, then disconnect the battery if required for power windows.
- Remove the interior door panel and any water shield carefully to expose the old glass run channel and mounting hardware.
- Support the glass in the up position with tape or have an assistant hold it. If needed, loosen the glass-to-regulator bolts to create clearance.
- Carefully pull out the old glass run channel from the door frame; use panel tools and pliers as needed. Inspect and clean the channel track area of dirt, adhesive residue, and rust.
- Test-fit the new channel in place. If necessary, trim the new channel to length per original part, maintaining proper overlap at corners.
- Apply a light coat of silicone lubricant or soapy water inside the new channel to ease installation and glass movement.
- Press the new channel into the door frame, ensuring it seats fully into retaining clips or channels. Reinstall any mounting clips or screws.
- Re-seat the glass into the new run channel, align with the regulator, and tighten any glass-to-regulator fasteners. Cycle the window to verify smooth operation and proper sealing.
- Reinstall the water shield and interior door panel. Clean any fingerprints or lubricant from the glass and perform a final check for wind noise and water leaks.
Since 1986 Precision Replacement Parts has been a trusted name in the Automotive Glass Industry.
Our knowledge and experience in manufacturing millions of extruded and molded EPDM Rubber, PVC and HDPE based plastics, and various stamped and extruded metal products for the classic and late model industries has allowed Precision to expand our services into multiple product markets.
Along with our own USA based production facility, Precision also partners with 25 different manufactures worldwide with a reputation as a global leader supplying OEM and replacement products to a number of different industries. Our partnerships along with our own in-house manufacturing and fabrication capability gives Precision a unique position in helping to meet the expanding needs of customers everywhere, providing them with a sustained competitive advantage.

Vehicle Fitment:
| Make | Model | Years | Fitment Notes |
| Chevrolet | Chevelle | 1968 - 1972 | Sedan |
| Chevrolet | El Camino | 1968 - 1972 |
Specifications:
| Part Type | Door Window Glass Run Channel |
| Proposition 65 | www.P65Warnings.ca.gov |
| Warranty | Lifetime on Defects TX |

