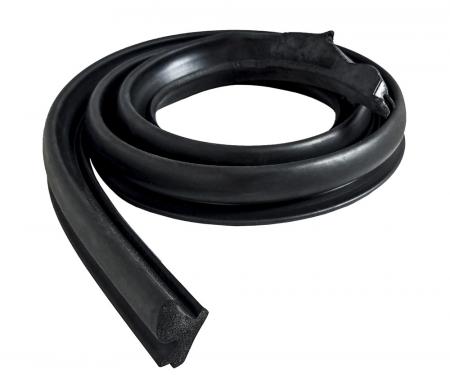
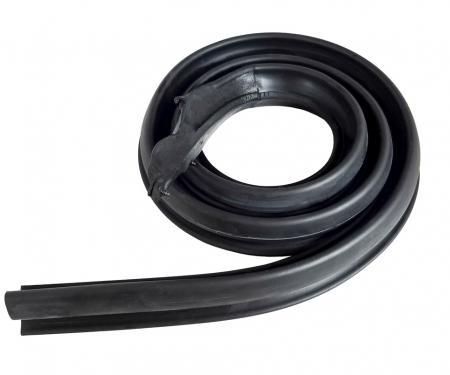
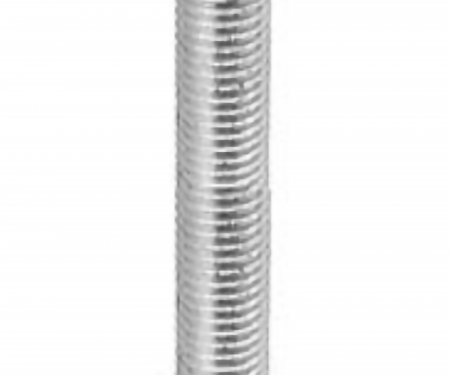
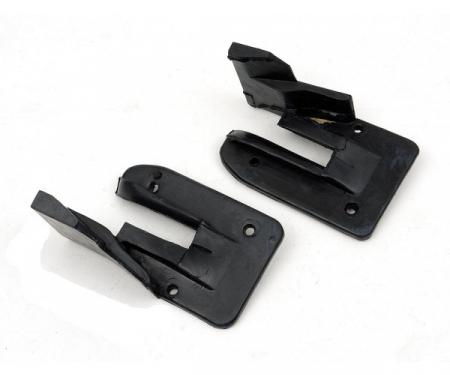
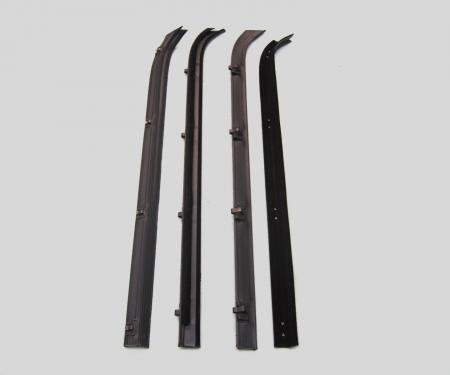
1970–1972 Chevrolet Chevelle Beltline Molding Kit (left and right, 8-piece) restores and secures the exterior beltline trim along the roof and door openings. Designed to replace worn or missing moldings, the kit protects the sheetmetal and glass edges from moisture and road debris, reduces wind noise and vibration, and returns a factory-alike appearance. Made with durable, corrosion-resistant materials and finished to match original trim, this kit offers reliable fitment and straightforward installation for restoration and maintenance projects.
Features:
- Fits 1970–1972 Chevrolet Chevelle (left & right; 8-piece beltline molding kit).
- Durable, corrosion-resistant metal with factory-style finish for long-lasting appearance.
- Secures beltline trim to protect sheetmetal and glass edges, preventing moisture intrusion and damage.
- Reduces wind noise and vibration while restoring original exterior lines.
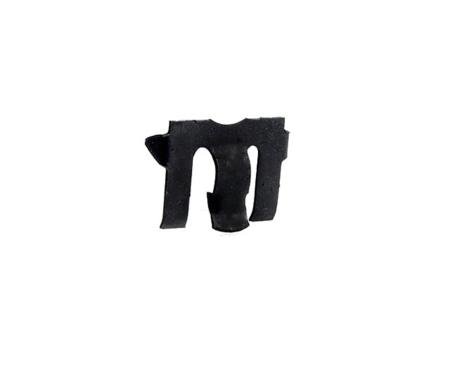
- Includes left and right pieces for a complete replacement; ideal for restorations and maintenance.
- Designed for straightforward installation with common hand tools to simplify fit-up and alignment.
Installation / Application:
- Difficulty: 2/5
- Estimated time: 30-90 minutes
Instructions:
- Prepare the vehicle: park on a level surface and work in a well-lit area. Wear safety glasses.
- Remove old molding: carefully pry away existing moldings and clips using a trim removal tool or flathead screwdriver. Retain any reusable clips if in good condition.
- Clean the mounting area: remove old adhesive, grime, and corrosion with solvent and a soft cloth. Ensure surfaces are dry before installing new pieces.
- Test-fit new pieces: position each molding along the beltline to check alignment and fit. Use masking tape to temporarily hold pieces in place if needed.
- Install clips or fasteners: attach supplied or retained clips to the molding or body per original configuration. Make sure clips are seated fully.
- Secure moldings: press or tap the molding into the beltline, engaging clips or fasteners. Where screws or bolts are used, tighten snugly but avoid overtightening to prevent distortion.
- Finish and inspect: confirm uniform gaps and alignment along left and right sides. Clean any fingerprints or residue and verify there are no rattles or loose sections.
- Optional seal: apply small bead of suitable weatherseal where necessary to prevent moisture intrusion and ensure long-term protection.
About Precision Replacement Parts
Since 1986 Precision Replacement Parts has been a trusted name in the Automotive Glass Industry.
Our knowledge and experience in manufacturing millions of extruded and molded EPDM Rubber, PVC and HDPE based plastics, and various stamped and extruded metal products for the classic and late model industries has allowed Precision to expand our services into multiple product markets.
Along with our own USA based production facility, Precision also partners with 25 different manufactures worldwide with a reputation as a global leader supplying OEM and replacement products to a number of different industries. Our partnerships along with our own in-house manufacturing and fabrication capability gives Precision a unique position in helping to meet the expanding needs of customers everywhere, providing them with a sustained competitive advantage.

Vehicle Fitment:
The Vehicle Fitment Guide is to be used as a general reference. The data has been provided by our suppliers and manufacturers and may contain errors or incorrect data. Always refer to a professional to verify correct fitment for your vehicle.
| Make |
Model |
Years |
| Chevrolet |
Chevelle |
1970 - 1972 |