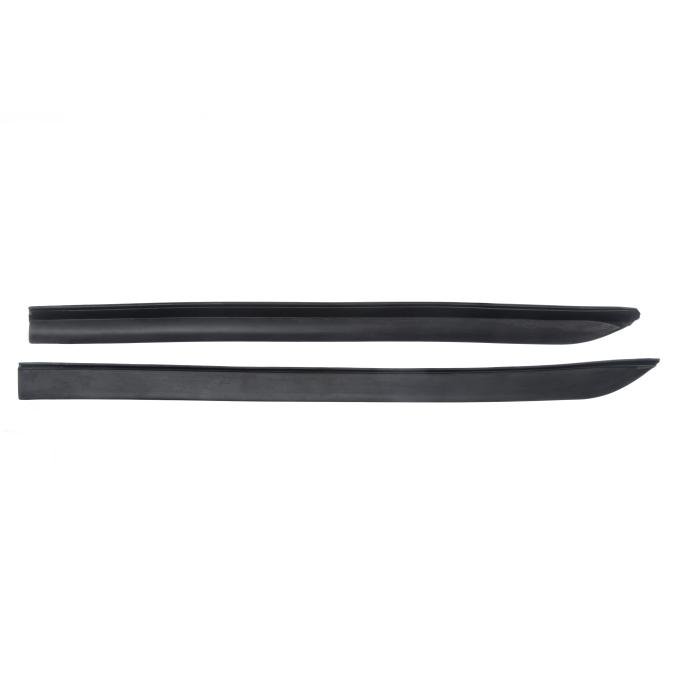
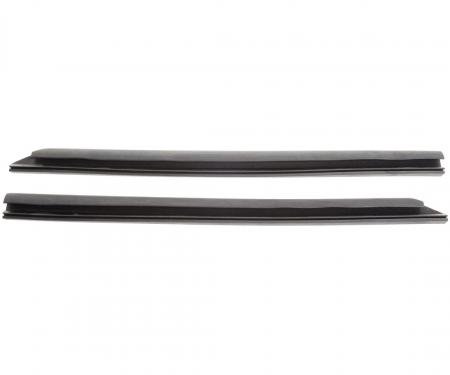
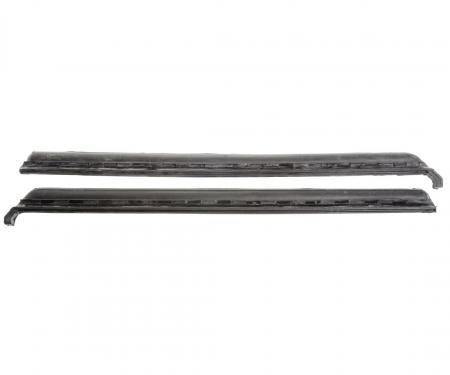
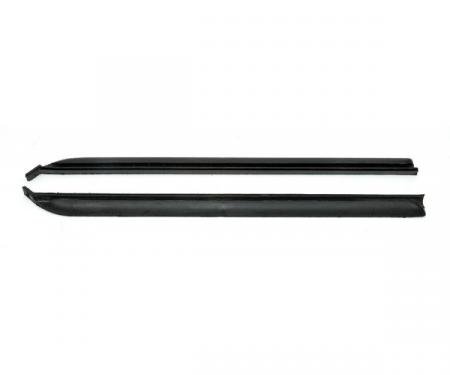
Precision 1966-1967 Chevrolet Chevelle Quarter Window Leading Edge Seal, Pair QLP 1710 66
- Fits 1966-1967 Chevrolet Chevelle rear quarter (vent) windows, pair for both sides.
- Made from durable, weather-resistant rubber compound for long service life.
- Seals the leading edge of the quarter window to prevent leaks and reduce wind noise.
- Restores proper window alignment and trim appearance for concours or everyday restorations.
- Designed for straightforward installation with basic trim tools—no specialized equipment required.
- Difficulty: 2/5
- Estimated time: 30-60 minutes
- Plastic trim removal tool
- Isopropyl alcohol and clean cloths
- Mild soap and water or rubber lubricant (spray or soapy solution)
- Utility knife or scissors
- Small flat screwdriver (optional)
- Masking tape (optional)
- Park vehicle on a level surface and lower the quarter window (if applicable) to expose the leading edge channel.
- Carefully remove any interior trim or retainers that obstruct access to the quarter window edge using a plastic trim tool to avoid damaging panels.
- Remove the old leading edge seals: gently pry out and peel away the old rubber; use a small flat screwdriver only if necessary and with care.
- Thoroughly clean the window channel and mounting surface with isopropyl alcohol to remove adhesive residue, dirt, and old seal material. Allow to dry.
- Test-fit the new seal on the window edge to confirm orientation and length. Trim any excess with a utility knife or scissors so the seal matches the original length.
- Lightly lubricate the seal’s insertion lip with soapy water or a rubber lubricant to ease installation and avoid tearing.
- Starting at one end, press the new seal into the channel along the leading edge. Work progressively and evenly, ensuring the seal seats fully into the channel without twisting.
- Use masking tape to hold the seal in place temporarily if needed while working around the corner or opposing side.
- Reinstall any removed interior trim and check window operation. Verify the seal fits snugly and that the window opens and closes without binding.
- Allow any lubricant or moisture to evaporate fully before the final inspection. Confirm there are no gaps and test drive to check for wind noise or leaks.
Since 1986 Precision Replacement Parts has been a trusted name in the Automotive Glass Industry.
Our knowledge and experience in manufacturing millions of extruded and molded EPDM Rubber, PVC and HDPE based plastics, and various stamped and extruded metal products for the classic and late model industries has allowed Precision to expand our services into multiple product markets.
Along with our own USA based production facility, Precision also partners with 25 different manufactures worldwide with a reputation as a global leader supplying OEM and replacement products to a number of different industries. Our partnerships along with our own in-house manufacturing and fabrication capability gives Precision a unique position in helping to meet the expanding needs of customers everywhere, providing them with a sustained competitive advantage.

Vehicle Fitment:
| Make | Model | Years | Fitment Notes |
| Chevrolet | Chevelle | 1966 - 1967 | Sedan |
Specifications:
| Part Type | Quarter Glass Seal |
| Proposition 65 | www.P65Warnings.ca.gov |
| Warranty | Lifetime on Defects TX |

