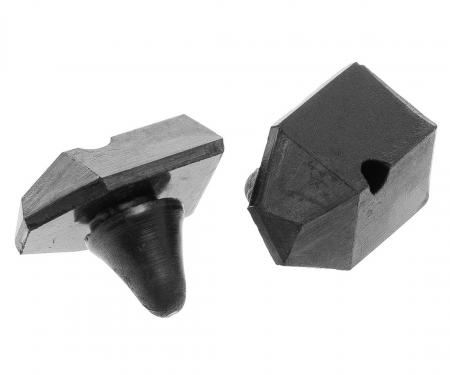
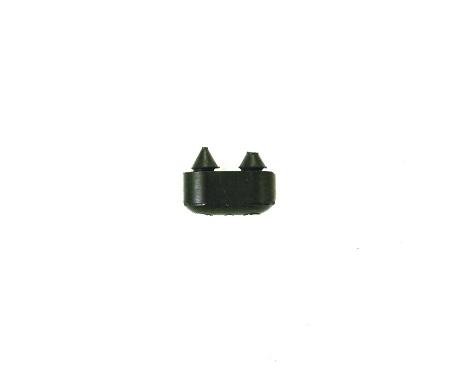
A precision-engineered pair of front bumper guards designed to protect and restore the appearance of classic 1969 bumpers with factory guard mounts. These guards provide a reliable barrier against minor impacts and parking damage while delivering a factory-correct look for restorations. Constructed from heavy-gauge metal with a corrosion-resistant finish, the set offers long-lasting durability and a polished appearance. Easy bolt-on installation and exacting fitment make this kit ideal for restoration projects or as a direct replacement for worn or missing bumper guards.
Features:
- Fits 1969 bumpers with factory front bumper guard mounting provisions.
- Heavy-gauge metal construction with corrosion-resistant, polished finish for long-term durability.
- Protects bumper ends from minor impacts, dings, and parking damage.
- Direct bolt-on replacement for restoring original appearance.
- Sold as a pair (left and right) for complete front-end protection.
Installation / Application:
- Difficulty: 2/5
- Estimated time: 45 minutes
Instructions:
- Park vehicle on a level surface, set parking brake, and if desired, raise the front end and support with jack stands or ramps for easier access.
- Inspect existing bumper guards and mounting hardware. Apply penetrating oil to any rusted or seized fasteners and allow to soak if necessary.
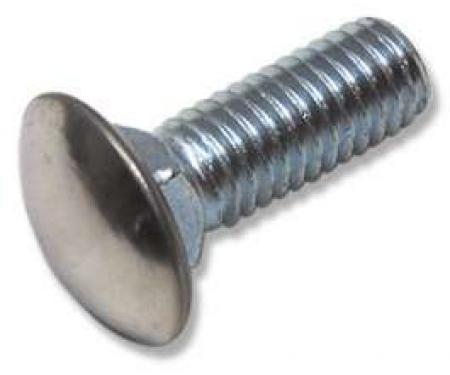
- Remove old bumper guards by loosening and removing retaining bolts or screws. Keep original hardware if in good condition, otherwise replace with new fasteners.
- Clean mounting surfaces on the bumper to remove rust, dirt, and old sealant. Ensure surfaces are dry and smooth.
- Position the new bumper guard against the mounting area, aligning bolt holes with the factory mounting provisions.
- Install the provided or appropriate fasteners hand-tight to hold the guard in place, then tighten with a socket and ratchet.
- Use a torque wrench to tighten fasteners to the vehicle manufacturer’s recommended torque specification, or snug securely if specs are unavailable. Avoid over-tightening which can deform the guard or bumper.
- Repeat installation for the opposite side. Verify guards are evenly aligned and make any minor adjustments before final torque.
- Lower the vehicle (if raised) and perform a final inspection to ensure all hardware is secure and guards are properly seated.
About Precision Replacement Parts
Since 1986 Precision Replacement Parts has been a trusted name in the Automotive Glass Industry.
Our knowledge and experience in manufacturing millions of extruded and molded EPDM Rubber, PVC and HDPE based plastics, and various stamped and extruded metal products for the classic and late model industries has allowed Precision to expand our services into multiple product markets.
Along with our own USA based production facility, Precision also partners with 25 different manufactures worldwide with a reputation as a global leader supplying OEM and replacement products to a number of different industries. Our partnerships along with our own in-house manufacturing and fabrication capability gives Precision a unique position in helping to meet the expanding needs of customers everywhere, providing them with a sustained competitive advantage.

Vehicle Fitment:
The Vehicle Fitment Guide is to be used as a general reference. The data has been provided by our suppliers and manufacturers and may contain errors or incorrect data. Always refer to a professional to verify correct fitment for your vehicle.
| Make |
Model |
Years |
| Chevrolet |
Chevelle |
1969 |
| Chevrolet |
El Camino |
1969 |