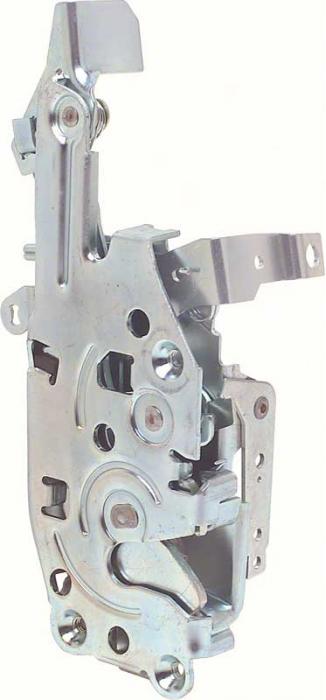
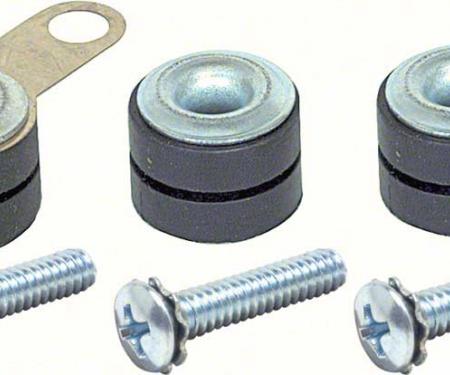
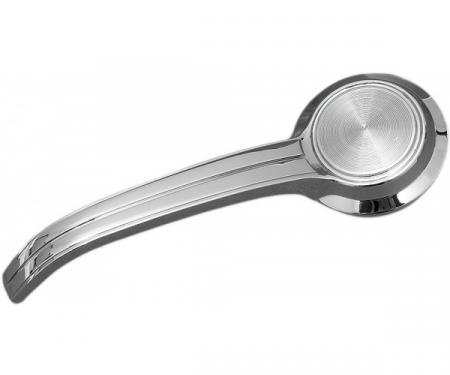
Direct-fit left-hand door latch assembly for 1970–1972 GM A-Body and full-size 2-door cars. Designed to replace worn or corroded latches, this OE-style unit restores secure door closure, reduces rattles, and improves safety and alignment. Constructed from durable stamped steel with corrosion-resistant plating and precision cams and pawls, it provides reliable long-term performance and straightforward bolt-in installation—ideal for restorations and maintenance on classic GM two-door models.
Features:
- Fits 1970-1972 GM A-Body and full-size 2-door vehicles (left-hand / driver side).
- OE-style replacement designed to restore proper door alignment and secure closure.
- Stamped steel construction with corrosion-resistant plating for long service life.
- Precision internal mechanism reduces rattling and ensures smooth latching action.
- Bolt-on installation; compatible with original linkage and striker hardware.
- Ideal for restoration projects or replacing worn, bent, or corroded factory latches.
Installation / Application:
- Difficulty: 2/5
- Estimated time: 30-45 minutes
Instructions:
- Park vehicle on level ground, disconnect the negative battery terminal if desired for safety.
- Remove the door panel: pry off trim pieces, remove screws, and carefully lift the panel away using a trim tool to avoid damage.
- Peel back the moisture barrier as needed to access the latch area.
- Disconnect the door latch linkage rods and any electrical connectors (clip or note orientation).
- Support the door latch assembly and remove the mounting bolts or screws securing the old latch to the door.
- Withdraw the old latch assembly from the door and compare it to the new unit to confirm orientation and hardware.
- Install the new latch into the door, loosely install mounting bolts, and reconnect linkage rods and connectors. Use masking tape to hold rods if helpful.
- Adjust latch position and striker alignment so the door closes smoothly and evenly; tighten mounting bolts to specification.
- Lubricate moving latch components and operate the door several times to confirm smooth engagement and release.
- Reinstall the moisture barrier and door panel, replace trim and screws, and perform a final door function check.
Vehicle Fitment:
The Vehicle Fitment Guide is to be used as a general reference. The data has been provided by our suppliers and manufacturers and may contain errors or incorrect data. Always refer to a professional to verify correct fitment for your vehicle.
| Make |
Model |
Years |
| Buick |
GS |
1970 - 1972 |
| Buick |
Skylark |
1970 - 1972 |
| Buick |
Sportwagon |
1970 - 1972 |
| Chevrolet |
Bel Air |
1970 - 1972 |
| Chevrolet |
Biscayne |
1970 - 1972 |
| Chevrolet |
Chevelle |
1970 - 1972 |
| Chevrolet |
El Camino |
1970 - 1972 |
| Chevrolet |
Impala |
1970 - 1972 |
| Chevrolet |
Monte Carlo |
1970 - 1972 |
| GMC |
Sprint |
1971 - 1972 |
| Oldsmobile |
442 |
1970 - 1971 |
| Oldsmobile |
Cutlass Supreme |
1970 - 1972 |
| Oldsmobile |
Cutlass |
1970 - 1972 |
| Oldsmobile |
F85 |
1971 - 1972 |
| Oldsmobile |
Vista Cruiser |
1970 - 1972 |
| Pontiac |
GTO |
1970 - 1972 |
| Pontiac |
LeMans |
1970 - 1972 |
| Pontiac |
Tempest |
1970 |