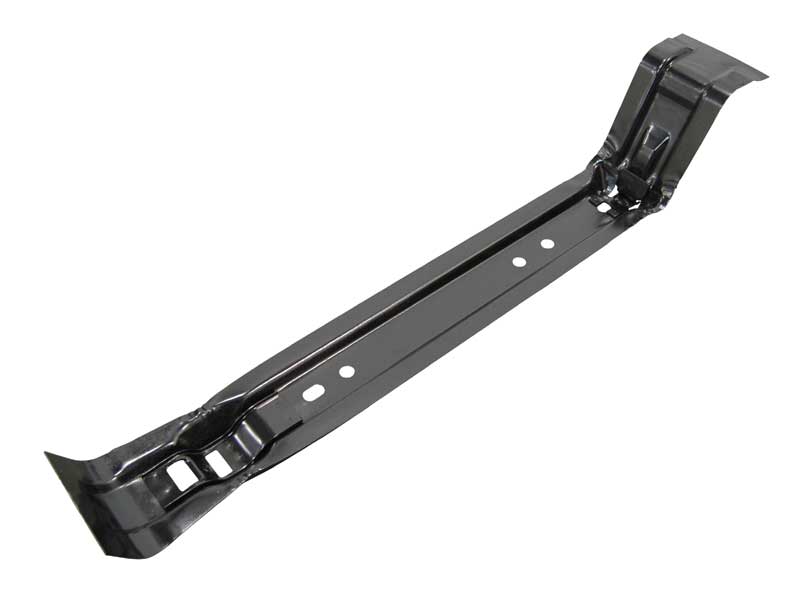
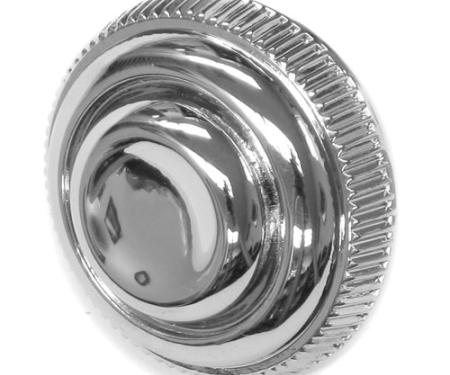
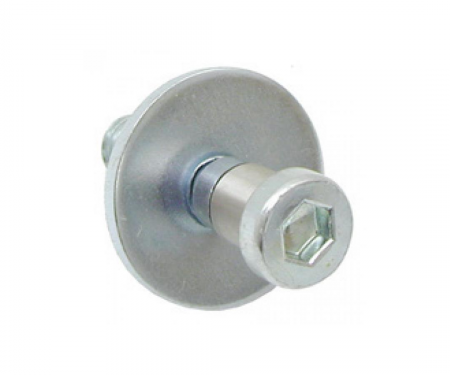
A heavy-duty replacement gas tank brace designed for 1968–1972 GM passenger vehicles to secure and align the fuel tank at either left- or right-hand mounting locations. This brace restores proper tank positioning, prevents excessive movement and sagging, and protects the tank against road vibration and damage. Engineered to match original mounting points for a direct-fit installation, it provides long-lasting strength and corrosion resistance for restoration and maintenance projects. Ideal for enthusiasts rebuilding classic GM cars who need reliable, OEM-style support for the fuel tank.
Features:
- Fits 1968-1972 GM passenger vehicles; usable on left- or right-hand fuel tank locations.
- Made from high-strength steel for secure, long-lasting support.
- Prevents tank sagging and reduces vibration for safer, quieter operation.
- Direct-fit design matches original mounting points for easy restoration and replacement.
- Corrosion-resistant finish improves durability in road and weather exposure.
- Simple installation with common hand tools; suitable for home mechanics and restoration shops.
Installation / Application:
- Difficulty: 2/5
- Estimated time: 30-60 minutes
Instructions:
- Park vehicle on a level surface, engage parking brake, and disconnect the negative battery cable for safety.
- Raise the vehicle with a jack and secure it on jack stands so you have safe access to the fuel tank area.
- Support the fuel tank with a transmission jack or padded floor jack to take weight off the straps and mountings.
- If replacing an existing brace, spray mounting hardware with penetrating oil and remove bolts or fasteners securing the old brace and straps; carefully lower the tank slightly if needed.
- Position the new gas tank brace on the correct side (left or right) so it aligns with the tank and body/frame mounting points.
- Install the supplied or original bolts and hardware finger-tight to ensure proper alignment, then tighten to secure the brace.
- Lower the tank into its final position, ensuring there is no binding and that the tank is seated correctly against straps and brace.
- Torque all mounting hardware to factory specification where available, or ensure fasteners are tightened firmly and evenly.
- Reconnect the negative battery cable, lower the vehicle, and perform a visual inspection and light road test to confirm the tank is secure and there are no unusual noises or movement.
Vehicle Fitment:
The Vehicle Fitment Guide is to be used as a general reference. The data has been provided by our suppliers and manufacturers and may contain errors or incorrect data. Always refer to a professional to verify correct fitment for your vehicle.
| Make |
Model |
Years |
| Buick |
Skylark |
1968 - 1972 |
| Buick |
Special |
1968 - 1969 |
| Buick |
Sportwagon |
1970 - 1972 |
| Chevrolet |
Chevelle |
1968 - 1972 |
| Chevrolet |
El Camino |
1968 - 1972 |
| Chevrolet |
Monte Carlo |
1970 - 1972 |
| Oldsmobile |
Cutlass |
1968 - 1972 |
| Oldsmobile |
F85 |
1968 - 1972 |
| Pontiac |
GTO |
1968 - 1972 |
| Pontiac |
Grand Prix |
1968 - 1972 |
| Pontiac |
LeMans |
1968 - 1972 |
| Pontiac |
Tempest |
1968 - 1970 |